
Cross platform development with Apache Cordova for VS2013 – a hello world using the camera
Recently I’ve been doing some research for a customer at work in regards to the best tools and platforms to use and target. One of the things I hadn’t tried yet was cross platform development using Apache Cordova for Visual Studio 2013 CTP3. I have used eclipse and Cordova, but the environment is not familiar (for me). I had also used App Builder by Telerik when I worked there, called Icenium at the time. However, that has a license cost, and it’s a new environment. With VS2015 just around the corner with a speedy new emulator for the non-MS platforms I decided to give it a go in Visual Studio 2013, before I compare to using 2015 in a virtual machine (will blog about that next week). I’ve taken some notes and plenty of screen shots of this adventure and I’d love to share that with you. Happy coding, and make sure you let me know if there are errors, if you know something cool, or what your experience is with this.
Here we go!
Make sure you have the latest update for Visual Studio, at the moment Update 4. Click on the flag next to the Quick Launch box in the upper right corner, this should list available updates not yet installed.
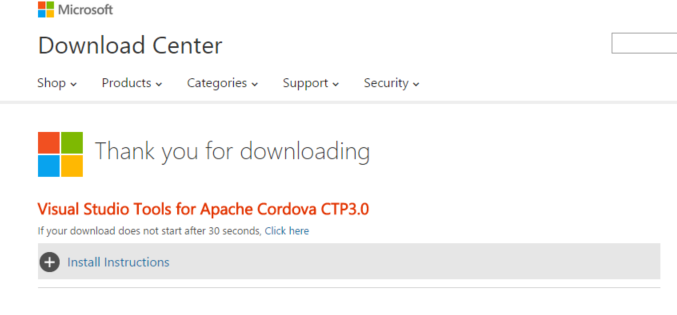
Download Tools for Apache Cordova for Visual Studio 2013 CTP3
It might require a restart of Visual Studio when you run it, if so restart.
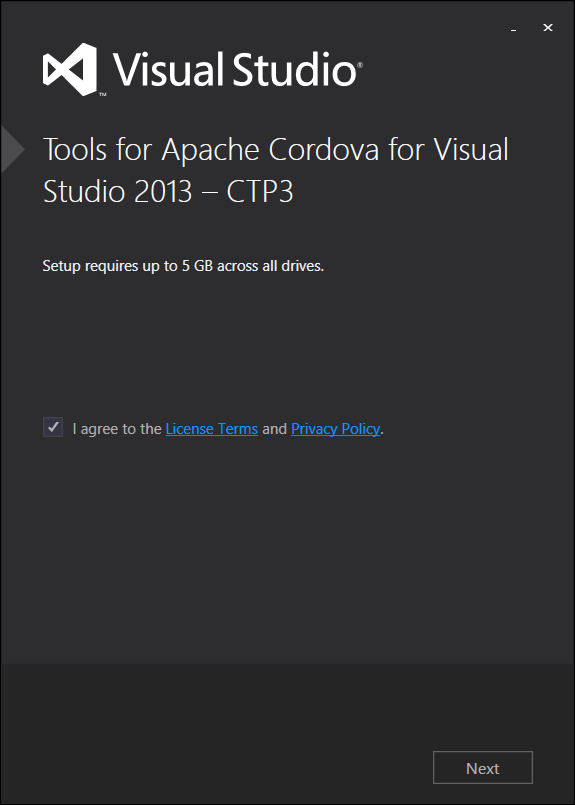
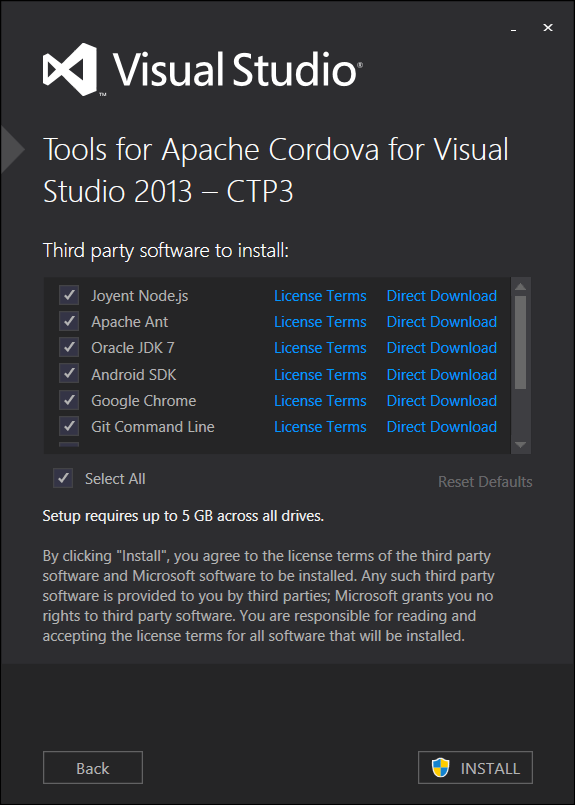
Run the tool and let it install, it will take 5GB and take 15 minutes or so to install depending on the computer hardware specs and available memory at the time you run it.
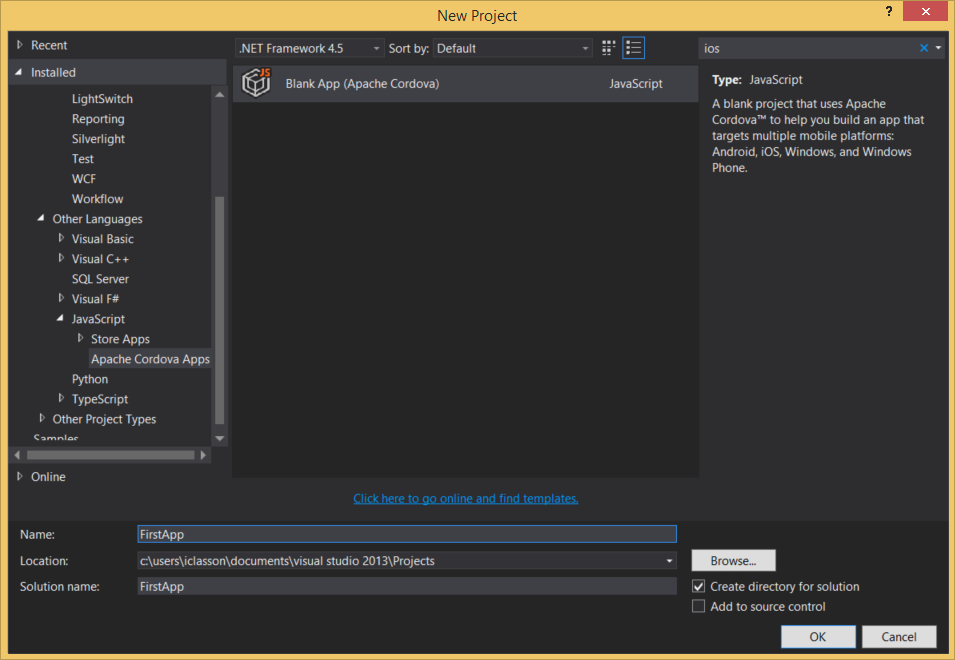
Create a new Cordova project
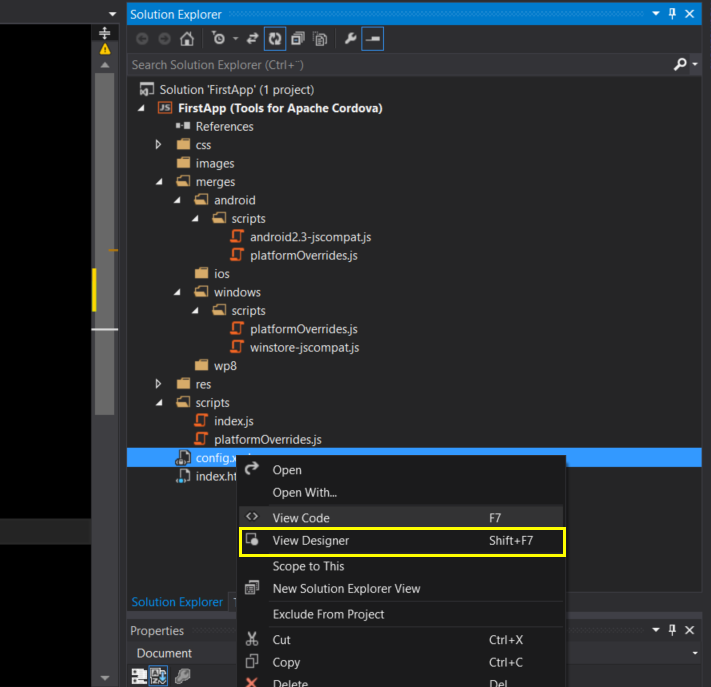
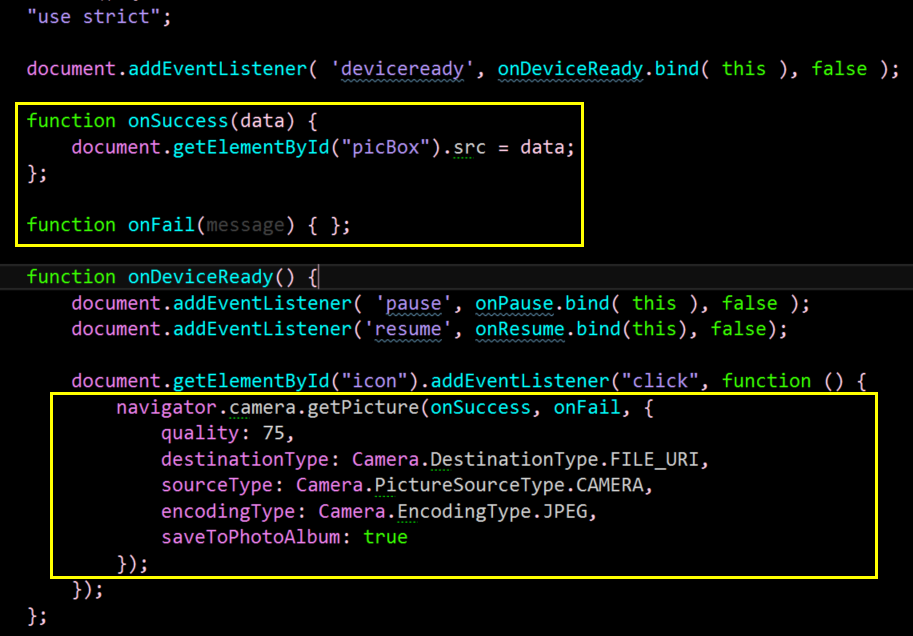
Cordova uses plugins for hardware functions so to use for example the camera we need to add a plugin for that. Right click on the config file in the solution explorer and select view designer.
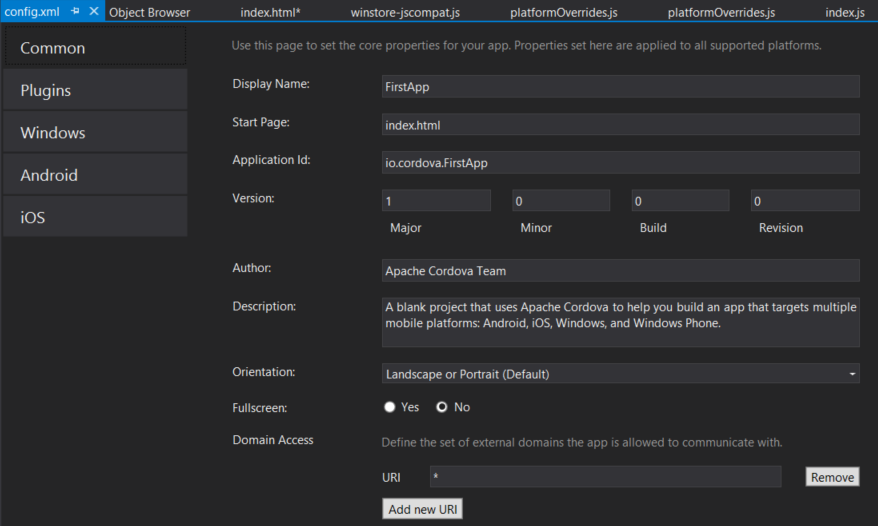
This opens up a window where we can, among other things, add plugins.
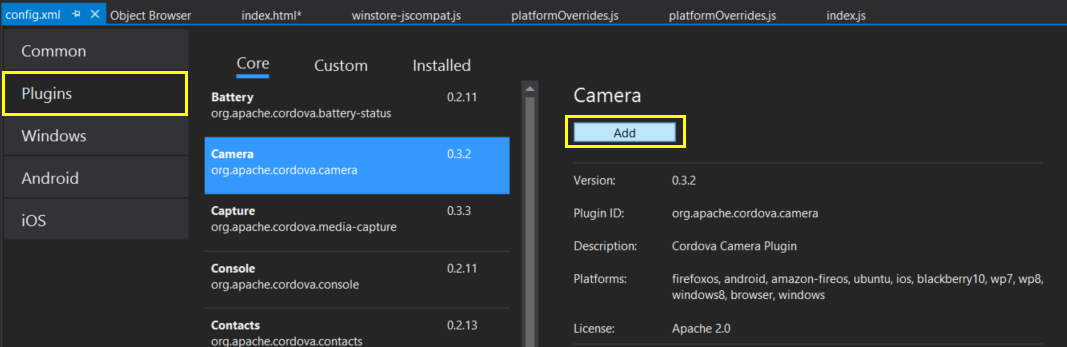
Select Plugins in the menu of the left, and the camera plugin.
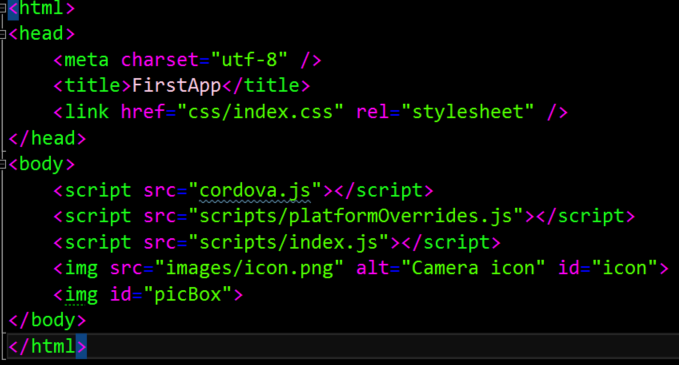
In our view we can then add a button for taking a picture and a div to output the image to. For this example I’ll just use index.html.
In the accompanying index.js file, in the onDeviceReady event handler we can then use the camera and take a picture:
If you use the Ripple browser simulator to run the application you might get an exception, saying that the picture function cannot be found on undefined. I ran into that a few times, and a few resfresh and restarts fixed it.
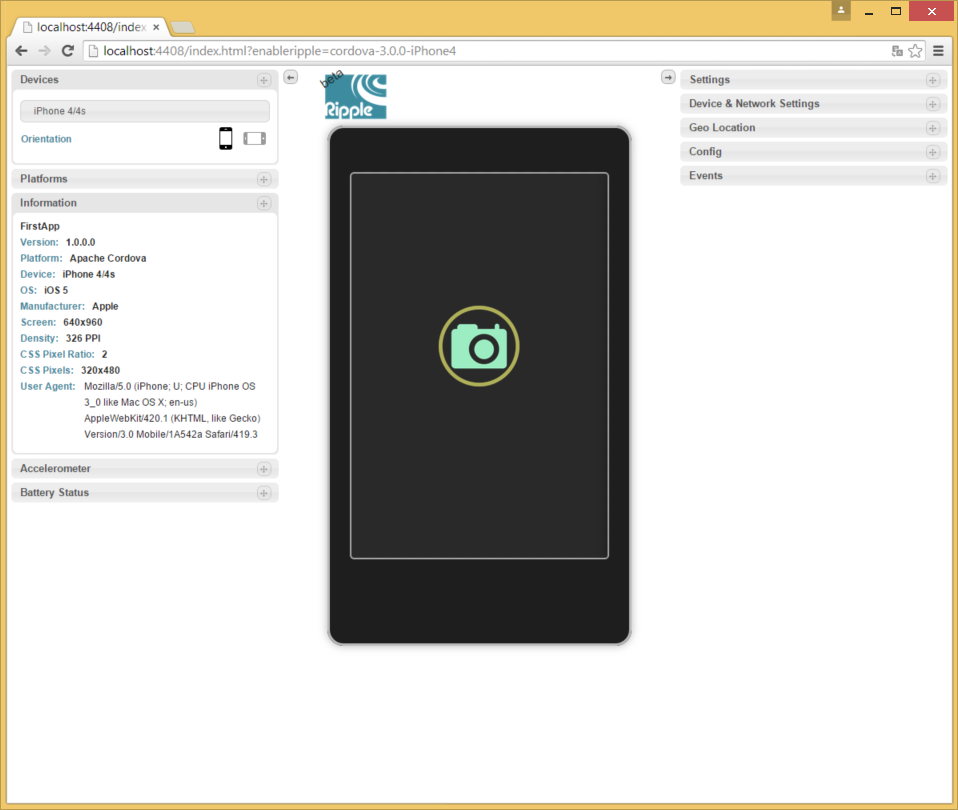
You cannot take a photo in the simulator, but it will let you select a photo instead .I prefer to use the emulator to test hardware funtionality in particular, so let’s do that,
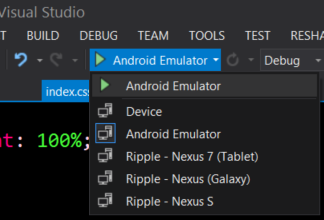
From the run menu in Visual Studio use the drop down menu to select the Android emulator, and hit run. It will take a while. The emulator is notoriously slow, but there are a few things we can do to sort that out which I will cover in a separate post.

Once the emulator has launched the application we should be able to select take photo. You might run into the fun problem of having the emulator tell you that you cannot take a photo as a SIM card is missing, which means we need to configure our emulator image. This will be covered in tomorrow’s post, stay tuned :)
Here is the app after taking a photo, deployed to my Windows Phone - we are going to cover this as well over the next few weeks.

Comments
Last modified on 2015-02-12